Guides for power where there is none.
Four field guides from the people who build the equipment: wireless surveillance without grid power, building a solar kit, putting cameras on light poles, and sizing an array for the darkest month.
Creating wireless surveillance systems without grid power
A complete guide for security systems integrators: how to build and install wireless surveillance where power is limited or absent.
This guide gives security surveillance integrators the essentials for creating and installing wireless surveillance systems in a range of scenarios and environments, and for getting past the installation obstacles that limited or no power availability creates.
Step 1: Choose your IP security camera
There are two primary types of IP camera for wireless applications.
Centralized IP cameras
Require a central network video recorder (NVR) for recording and alarm management.
Decentralized IP cameras
Have built-in recording and can record directly to SD cards, NAS, or a PC or server.
Step 2: Establish wireless connectivity
You have three primary options for wireless connectivity.
Local point-to-point network
A network built on wireless radio equipment. The transmitting radio talks to the IP camera; the receiving radio (access point) connects to an NVR for recording. Line of sight is required between radios.
Wireless bridge or mesh network
When line of sight is not achievable, place additional radios to bridge the signal around or over obstructions. Multiple locations create a mesh network.
Cellular gateway
Pair a decentralized IP camera with local storage (SD card) with a cellular gateway for remote access over the cellular network. Requires a data plan with monthly fees and usage limits.
Step 3: Power over Ethernet (PoE)
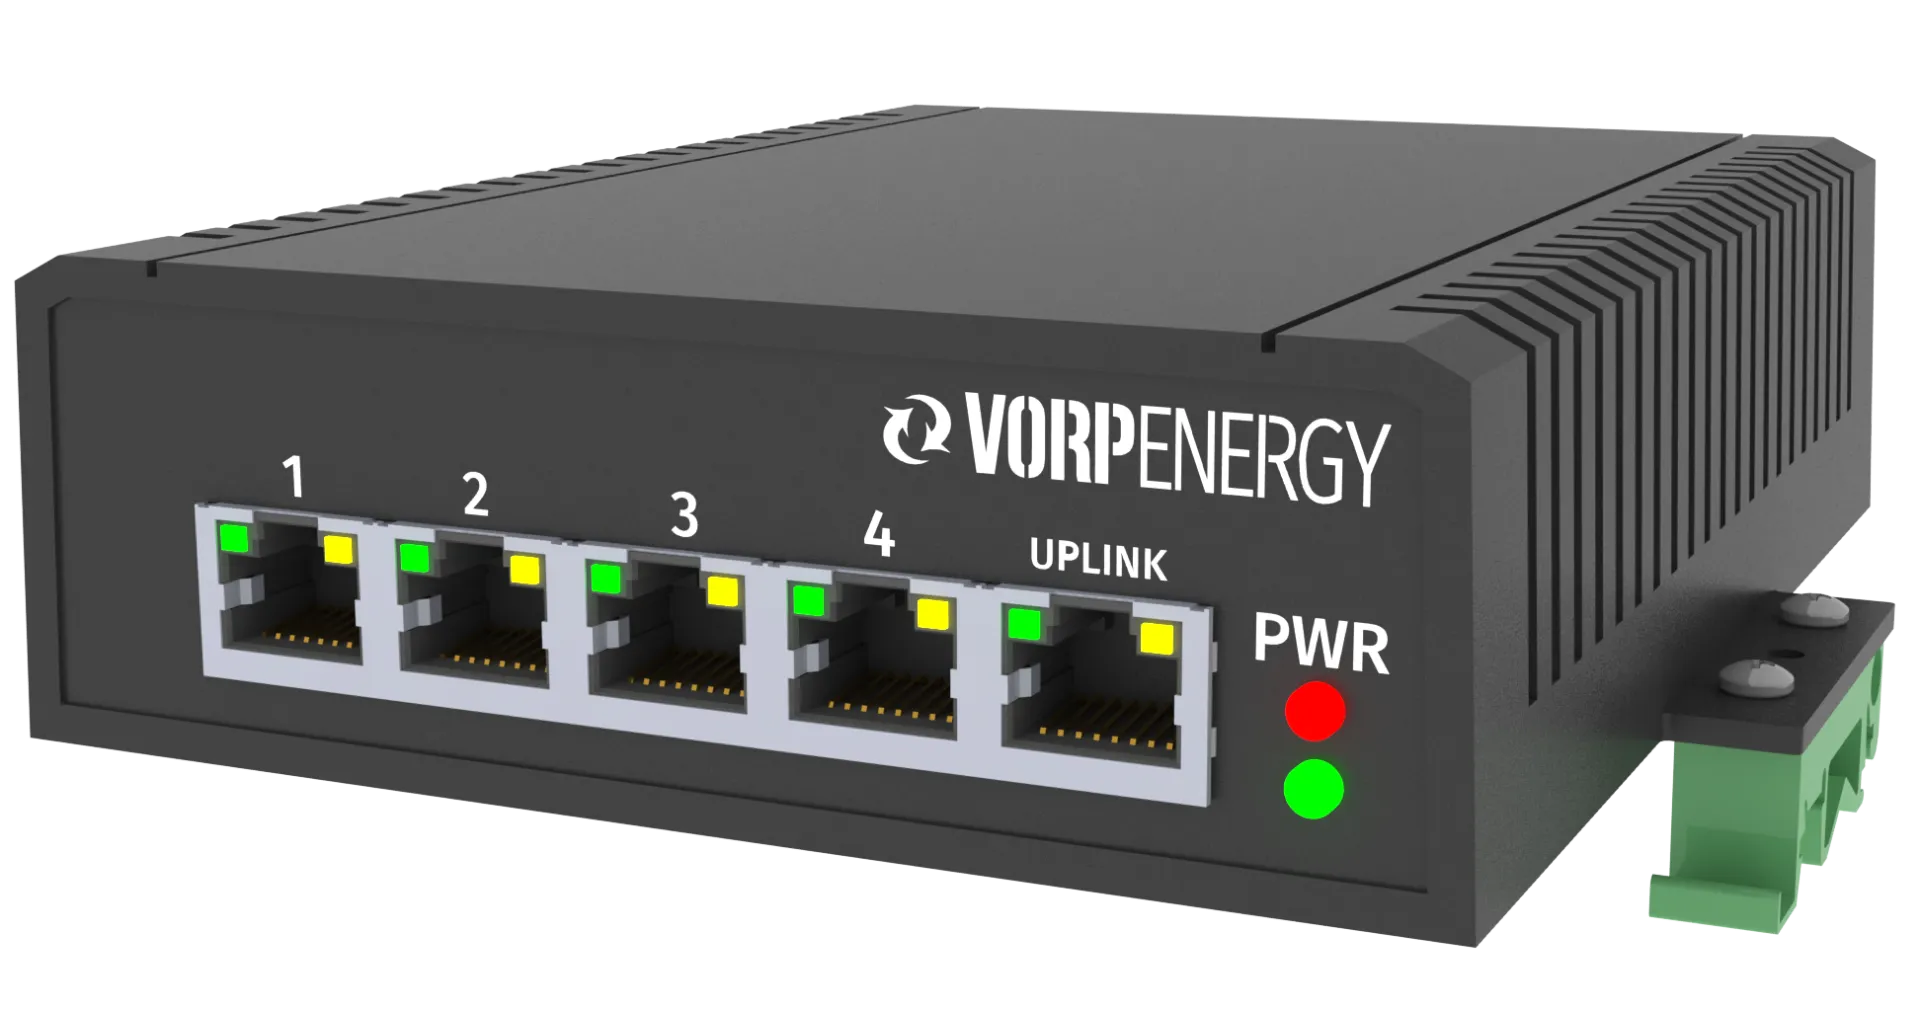
Most IP equipment runs on Power over Ethernet, which lets the Ethernet cable carry both communication and power to the device.
- IP cameras operate at 48 V PoE
- Most wireless equipment operates at 24 V PoE
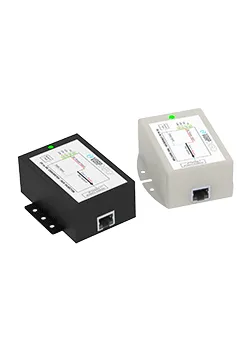
- PoE injectors convert the voltage and pass it through the Ethernet cable
- For outdoor use, specify weatherproof enclosures and the right operating temperature range
Step 4: Power solutions
Outdoor conversion kits
Plug-and-play kits for locations with AC power available. Weatherproof enclosures house all transformers and converters.
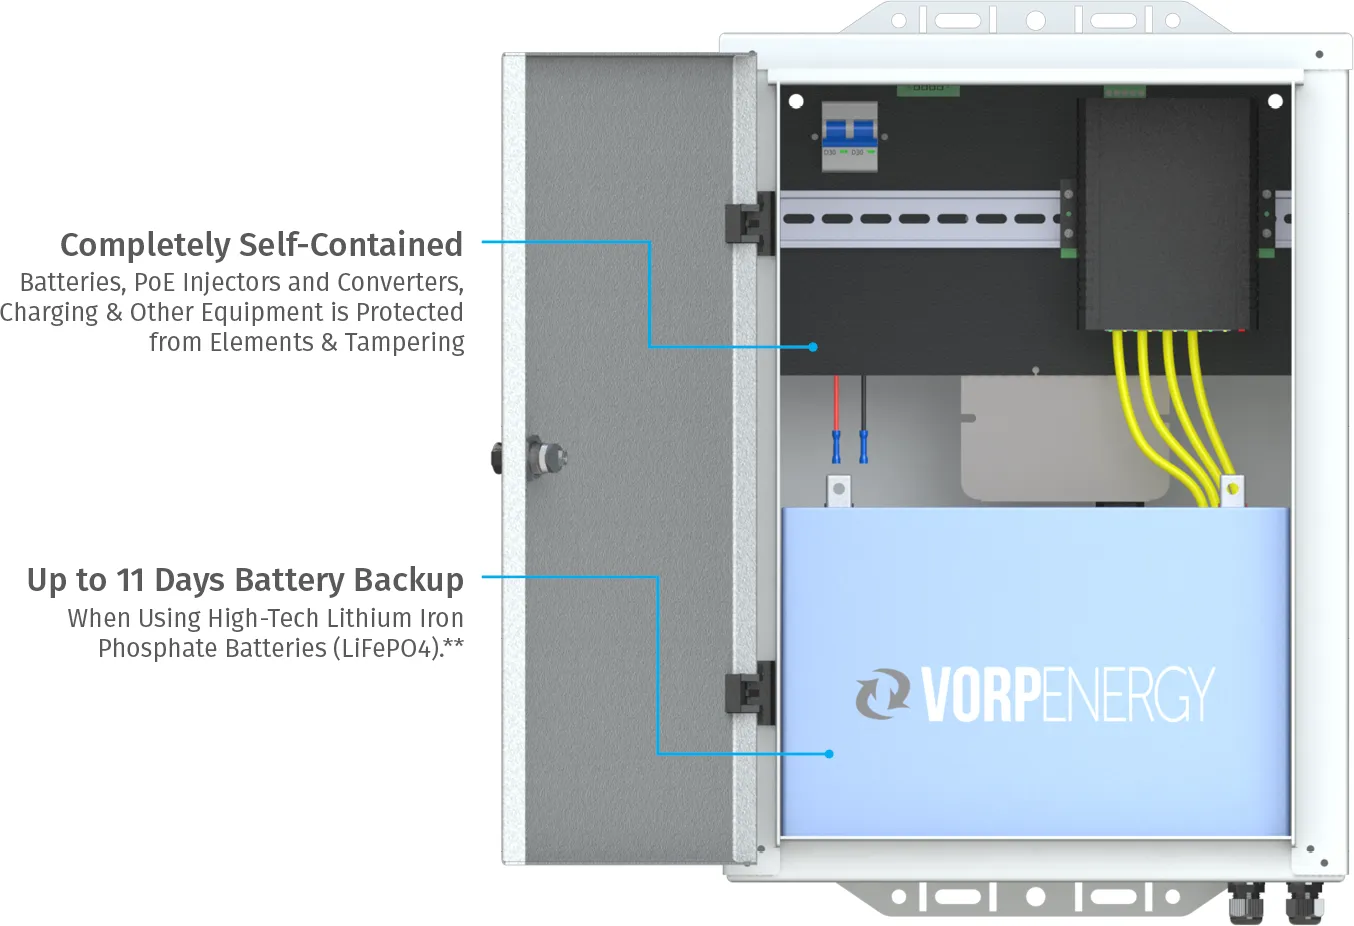
UPS backup kits
Battery backup for light poles on timers or unreliable power, so monitoring continues through outages.
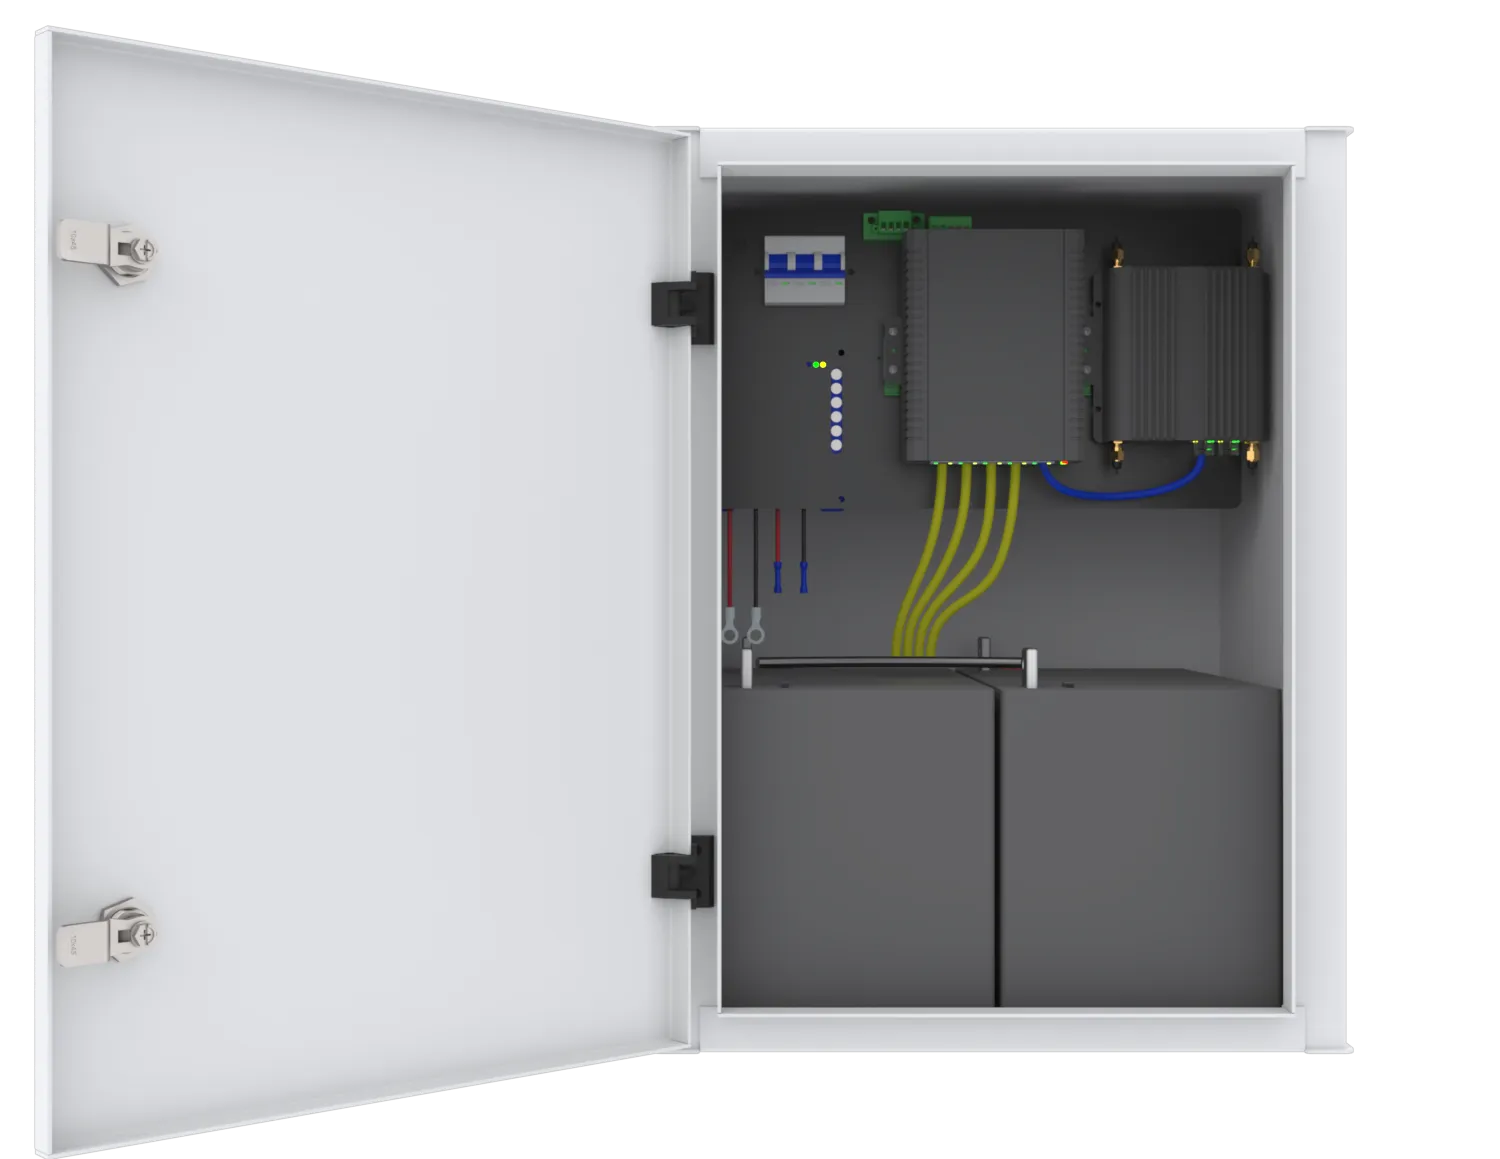
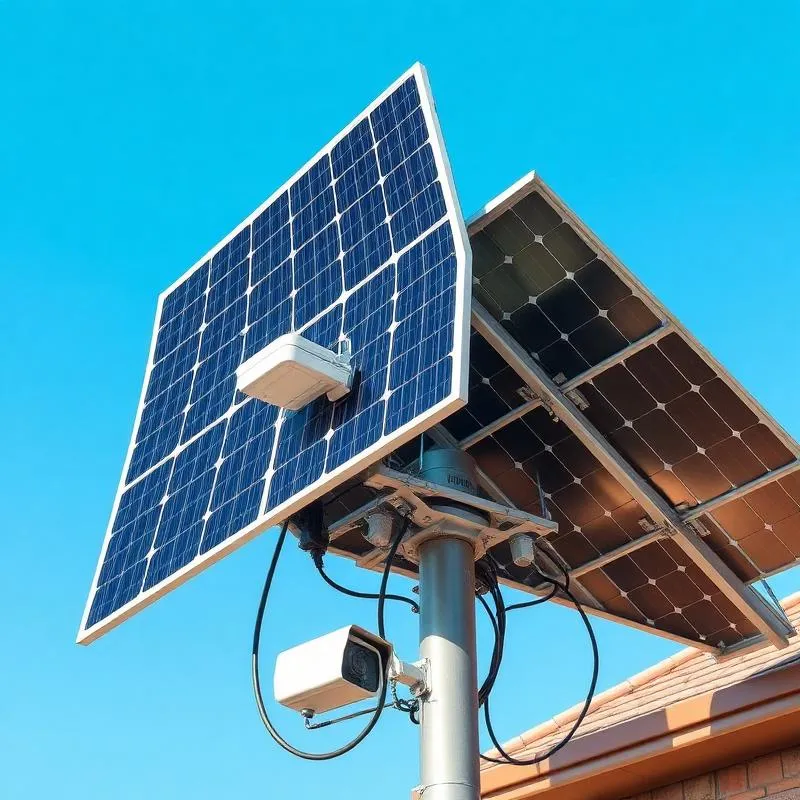
Solar power kits
Turn-key solar power sized for 24/7/365 operation, designed around the winter months when peak sun hours are lowest.
How to create a solar power kit for IP security cameras
A do-it-yourself guide for remote surveillance installations: power budget, batteries, array, controller and enclosure.
Step 1: Determine power requirements
Calculate the total power draw of everything that will be installed.
- Review camera specification sheets for wattage
- Include all cameras, wireless routers, radios, lighting and speakers
- Add up nominal wattage to get the total power requirement
- Identify the operating voltage (12 V DC, 24 V DC or PoE)
Step 2: Select the battery type
The battery is the heart of the system, providing consistent power day and night.
Deep cycle AGM (SLA)
The most cost-effective and common choice. Sealed lead acid batteries are reliable for off-grid surveillance.
Lithium iron phosphate (LiFePO4)
Longer life and smaller size, at a significantly higher price. Best for premium installations.
Step 3: Size the battery bank
Size the battery to run on the top 50% of its cycle, which extends its life.
- IP camera: 6 W at 12 V = 0.5 A
- Wireless antenna: 8 W at 12 V = 0.67 A
- Total: 1.17 A combined
- 50 Ah battery ÷ 2 = 25 Ah available
- 25 Ah ÷ 1.17 A = 21.4 hours of runtime
Watts ÷ volts = amps
Step 4: Size the solar array
The panels must generate enough power to recharge the batteries and run the equipment.
- Find the peak sun hours for your location on a solar zone map
- Size for winter, the months with the fewest peak sun hours, for year-round operation
- Match panel voltage to battery voltage (12 V or 24 V)
- Calculate the replacement hours needed during peak sun
Step 5: Add a solar charge controller
The charge controller is the brains of the system.
- Prevents battery over-charging and over-discharging
- Select by system voltage and the panel's short-circuit current (Isc)
- Two types: PWM (pulse width modulation) and MPPT (maximum power point tracking)
- MPPT controllers are more efficient and cost more
Step 6: Weatherproof enclosure
House everything in a NEMA 4X rated weatherproof enclosure that withstands wind, rain, sleet and snow. Powder-coated aluminum gives durability and corrosion resistance.
Installing security cameras on light poles
The guide to parking lot surveillance: why light poles, three ways to power the camera, and what to check first.
Why light poles?
Parking lots are target-rich environments. Light poles offer:
- Tall, secure mounting points with an excellent vantage
- Existing infrastructure throughout the parking area
- The potential to tap running electrical power
- No expensive trenching
Three power options
Option 1: Solar power kit
Ideal when the pole has no power or sits in a remote location. Panels recharge the batteries, which run PoE cameras or a cellular gateway 24/7. Panels face south for maximum sun. No monthly power cost.
Option 2: UPS battery backup
The answer when poles are on timers or the power is unreliable. An industrial charger accepts 110 or 220 VAC; the battery bank powers the equipment full time in a weatherproof aluminum enclosure. One person installs it in minutes.
Option 3: VTAP power tap kit
The most cost-effective option when consistent AC power is available. 100 to 264 VAC in, PoE out. Under 5 lb, weatherproof and low profile. The LTAP add-on connects to twist-lock photocells. May not need an electrician.
Important considerations
If the street light runs on 277 V or 480 V rather than 110/220 V, an electrician must install a step-down transformer before anything is connected.
- Always get permission from the pole owner, often the city, before installing equipment. Unauthorized installations can be removed and fined.
- A typical installation takes two people and a scissor lift. Mounts must hold through wind, rain, sleet and snow.
How to size your solar panel array
Making sure a remote surveillance system has enough power in the darkest month of the year.
Why proper sizing matters
Undersized arrays
Do not capture enough sun, which leads to downtime, over-discharged batteries and eventually system failure. An outage can cost thousands in theft and damage.
Properly sized arrays
Deliver reliable 24/7 power year-round without adding unnecessary cost and complexity to the installation.
Step 1: Determine your solar zone
Weather varies by region and season, and it changes solar generation dramatically.
- Size for winter, the months with the fewest peak sun hours
- Longer winter nights strain an undersized battery
- The United States is divided into five solar zones, each with its own peak sun hours
- A site on a zone border should be treated as the higher zone
Step 2: Calculate power requirements
- Check manufacturer data sheets for maximum power consumption in watts; it varies a lot between brands and models
- Note the operating voltage so the right converter or injector is chosen
- Add up total watts for all cameras, radios, lights and other devices
- Equipment draws 1.17 A total
- The battery provides 20 hours of power (top 50% of its cycle)
- Zone 1 receives 2.93 peak sun hours in December
- A 100 W panel produces 5.75 A during peak hours
- 5.75 A × 2.93 hours = 16.85 hours recharged
- The sun is down 12 to 14 hours, so the system is adequate
Zone 4: with only 1.4 peak sun hours, the same 100 W panel would have to be larger, or become several panels, to keep up.
Key factors
Location and climate
Solar zone, seasonal change and micro-climates all affect generation.
Equipment requirements
Total wattage, operating voltage and duty cycle of every device.
Battery capacity
Amp-hour rating, and running on the top 50% of the cycle for longevity.
Reliability requirements
Zero downtime is critical: size conservatively for the worst case.
With thousands of systems in the field, Vorp Energy has sized solar arrays for surveillance and communications equipment throughout North America. Tell us about the site and we will size it with you.
Read the buyer's guide first.
Ten criteria that decide whether a mobile surveillance trailer works for your site, the one question to ask every vendor on each, and a comparison of how the companies in this market sell.
Mobile surveillance trailers: buyer's guide → Compare the companies →
Rather have us size it?
Tell us about the site and a Vorp rep will size the array, the batteries and the camera payload for you, or configure a unit yourself in a few minutes.
Or call (208) 904-0424 · Designed and built in Rexburg, Idaho